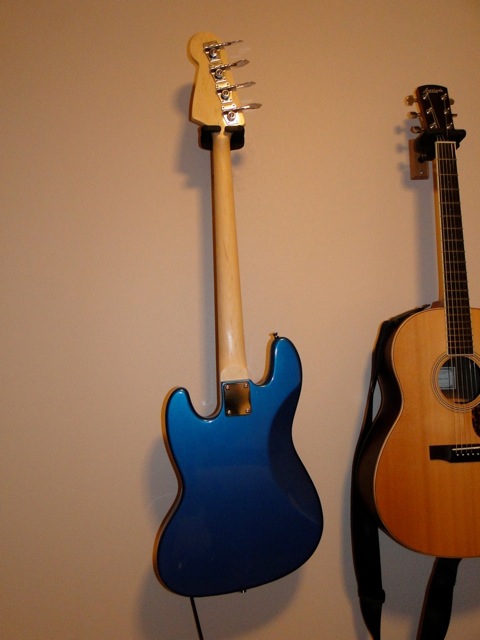
The previous post dealt with the details of finishing the body and neck of the bass. Sam and I added a logo to the head stock. We printed the logo on sewing pattern paper using a laser printer. The paper becomes nearly invisible when whetted and covered by 5 or six layers of lacquer. The kit comes complete with everything you need including strings and a cheap cable. The fit of the neck in the neck pocket was not as tight as it was with the Saga Les Paul that I built earlier in the year. The electronics come with snap type connectors that I cut off and instead we soldered all of the wire connections. The neck needed some fret work just as with the Les Paul but overall the kit is of a very high quality considering the price of $116 that I paid for it. I shielded the control pocket with metal foil and grounded the shielding to the common ground. All of the wiring connections are color coded so they are very easy to assemble and the end result was very good. I can recommend this kit to anyone who is interested in building a Fender J-Bass style guitar. Here are a couple of photos of the front and back of the bass.
These are a series of articles detailing projects that I've built. Click on the Blog Archive arrows to expand the months and see more articles that posted here...
Blog Archive
-
▼
2010
(16)
-
▼
December
(16)
- Inexpensive Recycled Clock
- Wooden Bookmarks
- Lefse Sticks
- How to make brass cannons without a metal lathe
- Spray Booth
- Minty Fresh Guitar Preamp Project
- British Phone Box Model
- Kayak Construction Final Part
- Kayak Construction 4
- Kayak Construction Part 3
- Kayak Construction Part 2
- Kayak Construction Part 1
- Fender Headstock Tables
- LC 10 Les Paul Construction Review and Notes
- Saga J Bass Guitar Kit
- How to get a great guitar finish using spray can l...
-
▼
December
(16)
Monday, December 6, 2010
Subscribe to:
Post Comments (Atom)


Hi, Scott
ReplyDeleteI'm thinking about building this same kit and also applying a Lake Placid Blue finish. Where did you get your finish and how was it to work with?
Great projects! Keep up the good work.
Ken
kbilling(at)hughes(dot)net
Thanks Ken, the finish is spray can lacquer from the local auto parts store with the same company's clear coat over the top. It helps to heat the cans in warm water before spraying. Just take a bucket and let the cans sit for 10-15 minutes in them (don't get water near the spray nozzle). Lacquer drys very quickly and this can be somewhat of a problem because the edges of the spray zone are where the "over-spray" seems to cause the small bumps that need to be flattened out later. Don't put the coats on too thinly because this seems to make the over-spray issue worse but of course don't put in on so thickly that you get runs either. Experiment and you'll find what works best for you. I'd be willing to bet that a professional spray gun doesn't have these sort of issues. (see the guitar finish post to see photos of this)
ReplyDelete