
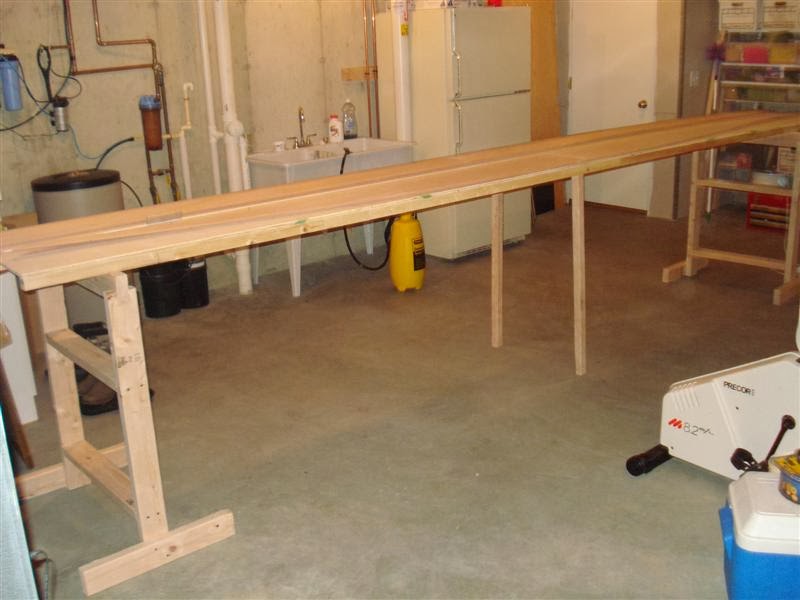
The first step was to build a pair of saw horses out of 2x4’s. These saw horses have removable top bars and will later be fitted with nylon webbing to create a sling for holding the formed kayak hull. I also built a 16 foot long table from ½ inch plywood with 2x2 furring strips screwed on for support. After adding a set of middle legs, this is what the horses and table look like.
The hull sides come in pieces because shipping a 17 foot long segment of hull is impractical. A special 4mm mahogany plywood called Okoume is used for the hull because it is engineered to have no voids in it. Any void would cause a weak spot in the hull which could fail during the bending process or worse, on the water. Scarf joints are made at the ends of the hull panels for a strong joint.

The plywood table is used to align and glue these panels together. A baseline is made with a length of thread. The left and right panels are stacked and specific offsets are measured from the thread baseline. When the panels are in the exact location, a few brads are nailed through the panels about two feet from either side of the scarf joint. This allows the panels to be lifted for gluing. Clear tape was placed along either side of the joint to allow easy removal of excess epoxy.

MAC epoxy is mixed in a 2:1 resin to slow hardener ratio. The epoxy will be clear and have a consistency of light syrup at this time.

Cell-O-Fill powder is mixed into the resin until a “mustard” consistence in achieved.


This mixture will be the glue that is used to join the panels together. Sheets of clear plastic were placed between the layers of hull and epoxy was applied to both gluing surfaces. The hull panels were clamped for 24 hours to allow for proper curing of the epoxy.

At the same time lengths of 1 x 3/4 inch boards were scarf joined together to form the sheer clamps.
The sheer clamps were glued on to the upper edge of the side hull panels. These sheer clamps are added to provide extra area for gluing and nailing the deck to the hull. They are placed ¼ inch proud to the top of the side panels so that the radius of the deck camber can be planed into them later in the assembly process. The side panels were placed back to back and clear plastic sheeting was put between them. The same mustard consistency epoxy/cell-o-fill mixture was made and applied to the sheer clamps and side panels. Every clamp and clip in the shop was used to ensure a tight bond.

Before the clamps were removed, a series of 1/8 inch holes were drilled in the ends of the side panels. These panels were then held together with short lengths of 18ga copper wire.

The bottom hull panels were stacked and holes were drilled 4 inches apart around the perimeter of the panels. The keel line of these panels was stitched together.

The hull sides were placed upon the horses and a spreader was constructed to hold the maximal beam width of 24 inches at a set distance from the bow as specified in the plans.
The bottom hull assembly was opened like a book and placed upon a set of boards that spanned the awaiting hull sides.

Starting at the bow, a series of holes were drilled into the side panels to match the holes already drilled in the bottom panels. Copper wire was used to stitch the bottom and side panels together. Here is what it looked like about half way done.

Here is the hull almost stitched together.

It was very exciting to watch the hull “magically” turn from flat panels into a recognizable kayak hull.
Go to part 2
No comments:
Post a Comment